We all understand the importance of insulation in the home, but insulation is essential in all spaces we inhabit. This is especially true for the garage, where temperatures can fluctuate and moisture can cause major issues. In this blog, we’re going to discuss how to control moisture, temperature and sound in your garage by using JM insulation and the steps it takes to install it.
FIRST THINGS FIRST: WHAT INSULATION DO YOU NEED?
JM provides a variety of products for insulating your garage. When insulating a garage, think of it as you would any exterior wall in your home. The best choices for this type of project are:

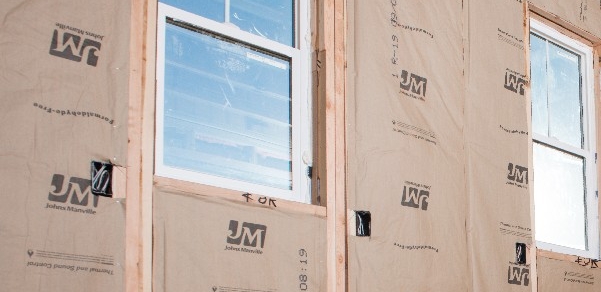
ComfortTherm®: wrapped in plastic to reduce itch and dust during installation. ComfortTherm provides excellent temperature and noise control and can be purchased with a vapor-retarder. Making it a great option if you plan to use your garage as a work station with lots of noisy tools.

Kraft-Faced Batts & Rolls: ideal for moisture control in exterior walls while providing excellent temperature and noise control. This product is ideal if your home’s location experiences fluctuating temperatures. Just remember, this insulation cannot be left exposed, it must be covered with gypsum board or another approved interior finish. Not sure if you need batts or rolls? Check out this video.

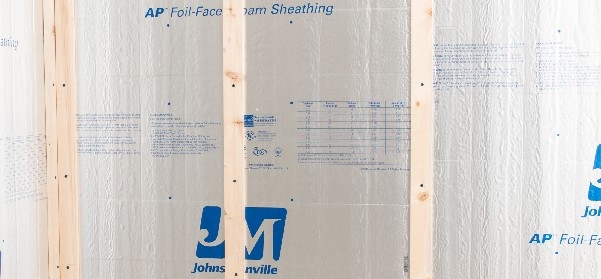
AP™ Foil: provides exceptional heat, moisture and air control. AP Foil, when used in a continuous insulation system, eliminates all major thermal bridges that cause heat loss. If you live in an area that experiences extreme temperatures or levels of moisture, this product is great for maintaining comfort and balance in your garage.
Now that you know which type of insulation you want to use for your garage project, you need to figure out which R-Value you will need. Depending on where you live and what area of your home you are insulating, different R-Values are recommended. Check out our R-Value map to get your home’s R-Value.
INSULATION INSTALLATION
Installing insulation isn’t a tough task; in fact, the garage itself doesn’t need to be completely insulated if you are just trying to maintain the temperature in your home. But, any walls between the house and garage should be. Whichever JM product you choose to go with, we have a variety of resources to help you install it. Before getting started, get the right protection in place to stay safe. Safety glasses, gloves, and long sleeves will cover you and keep you comfortable. Also, having the right tools for the job is essential, such as a utility knife, staple gun, caulk if necessary, etc. For more on the installation process of ComfortTherm or Kraft-Faced Batts & Rolls, our “Insulating a Garage” page is a great reference. If you are installing AP Foil, check out our segment on Designing Spaces for a quick overview.
FOLLOW UP ON YOUR INSTALL
After your install, it’s a good idea to check up on your new installed insulation to make sure it’s holding up well. You’ll want to double-check and make sure that water and other elements haven't gotten to the new insulation. Garages are notorious for having drafts and hidden exposure to water. Reexamine it in a few weeks to make sure there’s not a musty/moldy smell and to see if it’s wet. If your insulation has come in contact with water, our previous blog on how to dry out your insulation should be helpful to you.
Insulating your garage can be easy as long as you have the right insulation and tools. Come back soon to read more about other DIY tips and tricks for your home.

