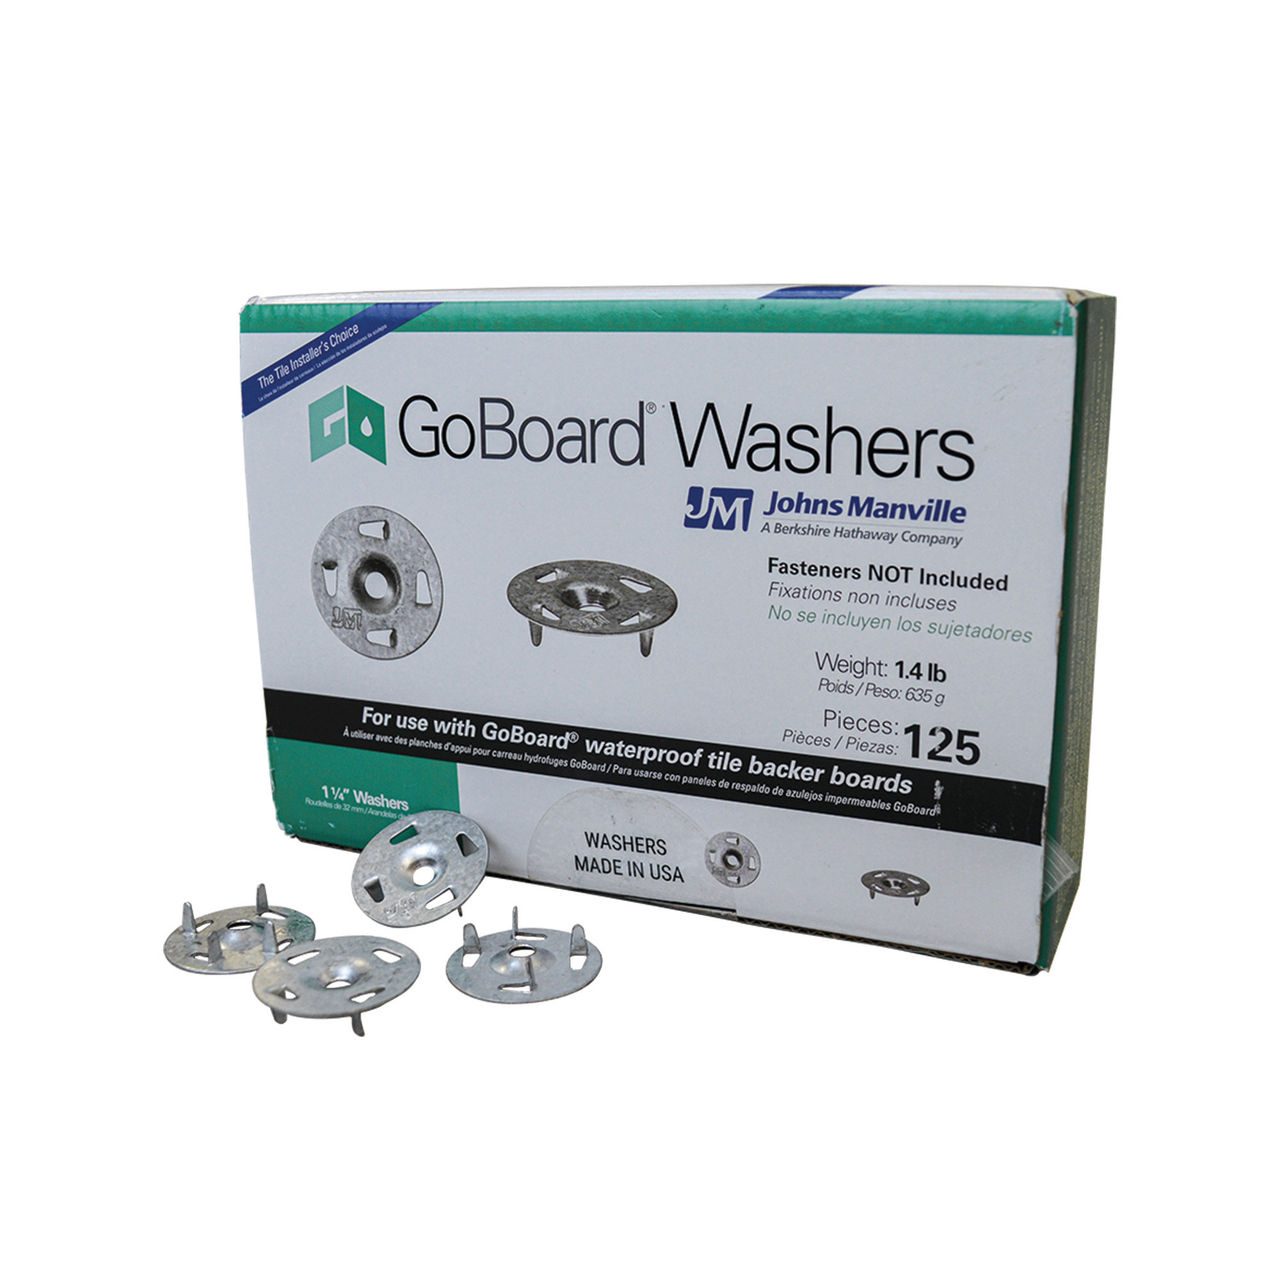
GoBoard Washers

GoBoard Washers

Product Descriptive Name
Tab Washers for Foam Tile Backer Board
Product Short Description
GoBoard Washers can be used in all GoBoard tile backer board applications for maximum holding strength. Take advantage of increased allowable spacing when used in combination with GoBoard Fasteners, or fortify your installation for heavier or larger format tile.

Product Details

GoBoard Washers

Product Long Description
GoBoard® Washers are hardened steel washers that provide maximum holding strength when fastening tile backer board to stud framing. Each washer has tabs for pre-positioning prior to driving the fasteners. These reverse tabs also prevent the washers from stacking while packaged – making them easy to separate. When using GoBoard Washers in your installation, the fastener spacing increases to 12 inches.

Features

GoBoard Washers

Features

Maximum Holding Strength 1 1/4-in diameter steel washer for maximum holding strength and durability.

Fast Installation Designed for use with 1/4-in, 1/2-in and 5/8-in GoBoard Tile Backer, up to 12-in spacing.

Versatility Recessed to accommodate GoBoard Hi-Lo or Self-drilling fasteners for wood or metal stud framing.

Corrosion Resistant Hardened galvanized steel

Documents

Sign Up for More GoBoard News and Events

Installation

FASTENING GOBOARD

A properly installed tile backer board will offer strength and long term durability to the tile work on top. Below are some tips to help you get your GoBoard tile backer hung quickly and sufficiently.

FASTENING SCHEDULES

  • 8 inch spacing for GoBoard Fasteners
  • 12 inch spacing for Backer Board Screws + GoBoard Washers
  • 6 inch spacing for Backer Board Screws

INSTALLATION

  1. Position GoBoard. Use shims or spacers to ensure 1 /8“ gaps.
  2. Place first GoBoard Washer approximately 12” from edge (push washer into GoBoard surface). 
  3. Install the provided Hi-Lo or Self-drilling fastener.
  4. Install remaining washers spaced 12” apart in the interior area (field) of board. To ensure a waterproof installation, GoBoard Washers should be only installed around board perimeters AFTER GoBoard Pro Sealant has been applied.
  5. Position next board; use spacers to ensure 1 /8 “gaps.
  6. Repeat steps 2 thru 4 to install GoBoard Washers.
  7. Install additional boards until wall is covered with GoBoard.
  8. Fill 1 /8“gaps with GoBoard Pro Sealant or equivalent.
  9. Repeat steps 2 thru 4 to install washers over joints.
  10. Using a putty knife, spread excess sealant 1” on either side of joint joints. Apply more sealant as needed.
  11. Apply sealant over each washer.
  12. Using a putty knife, spread sealant to completely cover washer with sealant. Apply more sealant as needed.

Cover adjacent walls with GoBoard repeating steps 1 thru 12. Once all boards are installed, begin tiling when GoBoard Pro Sealant has formed a suitable skin layer, which is usually 30 to 60 minutes depending on ambient conditions. In dryer climates or when installing at colder temperatures, GoBoard Pro Sealant will take longer to skin over.

FASTENING TIPS

  • Use the included T-25 Torx bit for GoBoard Fasteners with any variable speed corded or cordless screw gun or drill.
  • If using backer board screws from another manufacturer, use the appropriate bit.
  • If applicable, when fastening the panels without GoBoard Washers, make sure to adjust clutch setting such that fasteners are seated flush and not overdriven through top surface of board.
  • For waterproof installations, make sure to seal each fastener penetration, with GoBoard Sealant, GoBoard Pro Sealant, or approved alternative - extending the sealant approximately 1-in in diameter around the perimeter of each GoBoard Washer.

Warranty

HIGH PERFORMANCE - TRUSTED QUALITY

The GoBoard product line includes Polyiso foam board panels, a versatile shower pan kit, and essential tile backer accessories that when installed as a system, can qualify for a manufacturer limited warranty. Need help with one of our products? Contact us with your warranty questions, or download the warranty certificate in the documents above.